Best Graphics Settings for Firestorm Viewer
Experience stunning visuals with optimized settings
Welcome to your comprehensive guide for achieving the best graphics settings in Firestorm Viewer for the Alife Virtual World! This guide will walk you through optimizing your viewer for that perfect balance between stunning visual quality and smooth performance. We'll move beyond the basic presets to give you granular control, ensuring your virtual experience is as beautiful and responsive as your computer can handle.
Prerequisites
Before we dive in, let's make sure you have everything you need. This guide assumes you are an intermediate user, comfortable with navigating menus and changing settings.
- A Capable Computer: Your PC or Mac should meet at least the minimum system requirements for Firestorm. Performance will vary greatly depending on your CPU, graphics card (GPU), and RAM.
- Firestorm Viewer Installed: You must have the latest version of Firestorm installed. If you don't, you can download it for free from the official website: https://www.firestormviewer.org/.
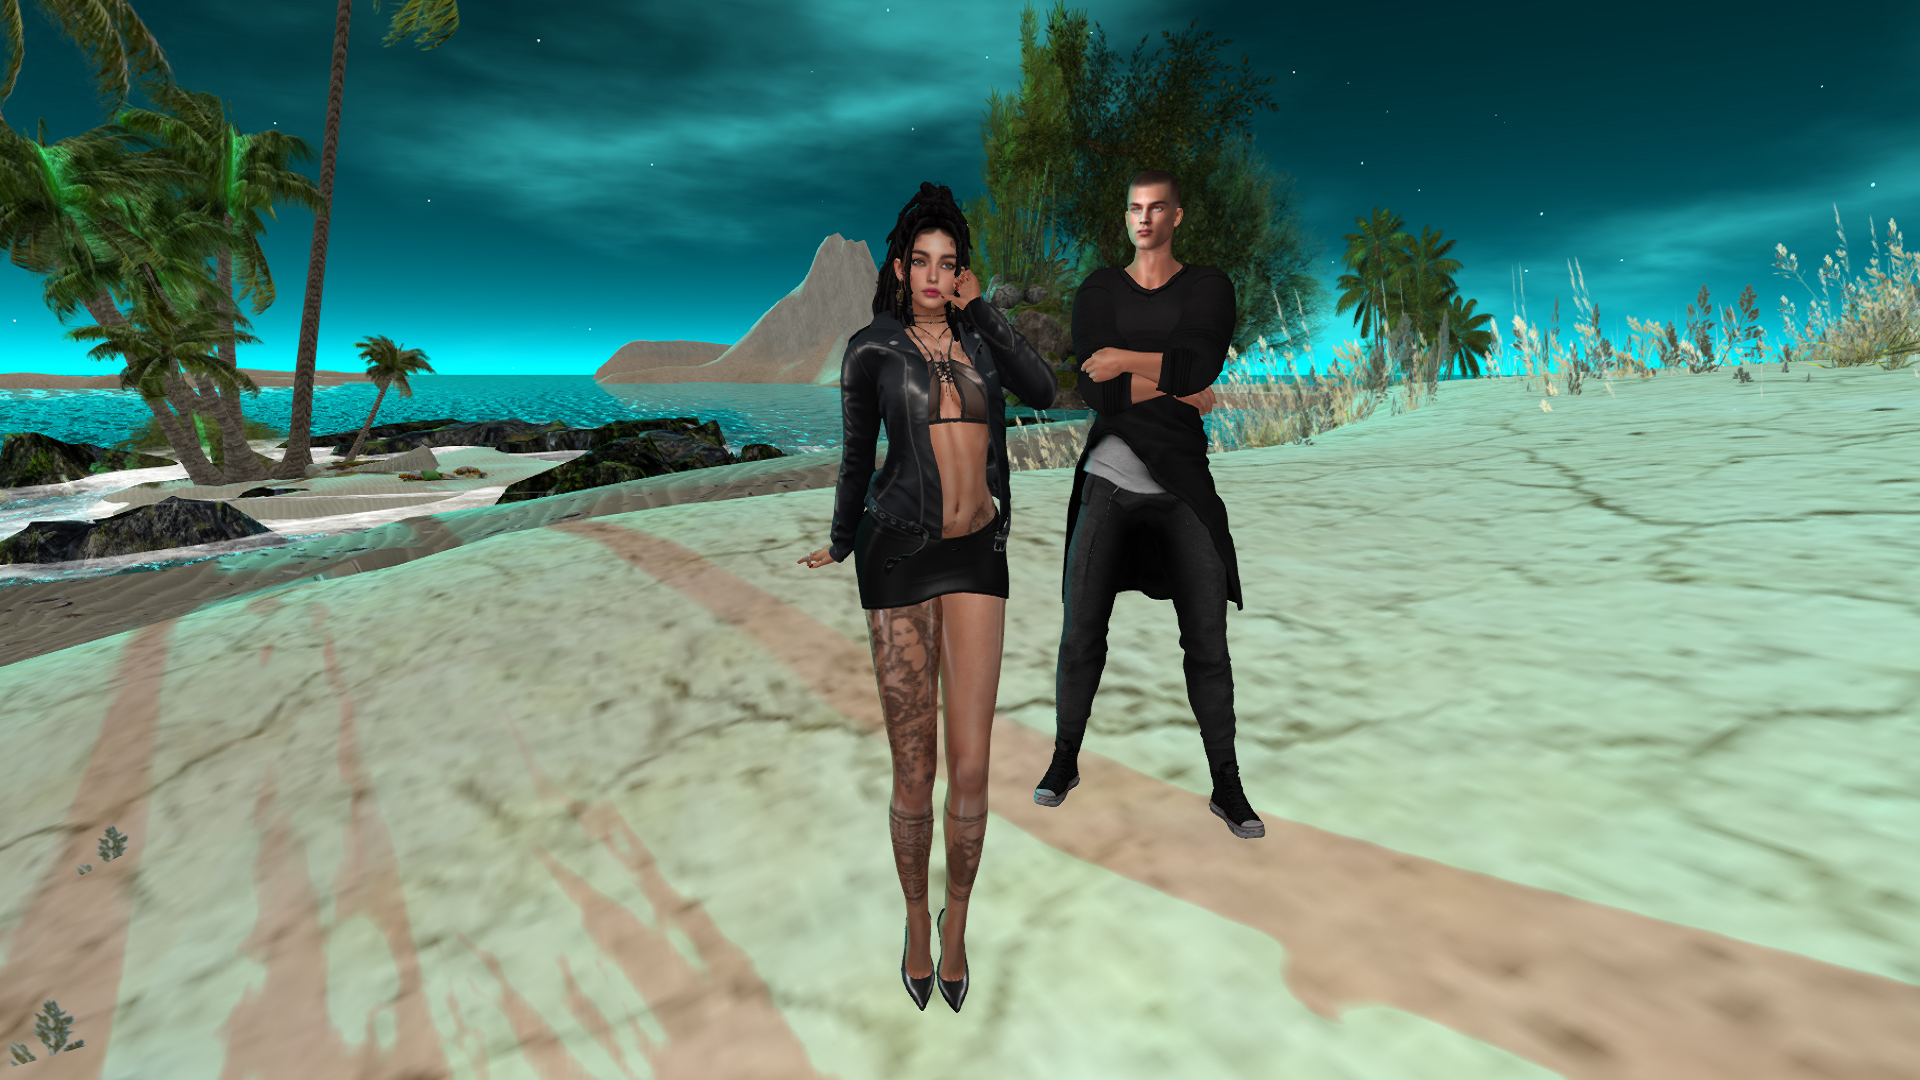
- An Alife Virtual World Account: This guide is tailored for the Alife grid. You'll need an active account. You can register for free here: https://www.alifevirtual.com/register.php.
- Logged into Alife: For the best results, be logged into the Alife grid while you adjust these settings. This allows you to see the changes in real-time. Use the following grid address in your viewer's login screen:
grid.alifevirtual.com:8002.
Step-by-Step Guide to Optimizing Your Graphics Settings
Ready to transform your virtual world? Let's get started. We'll open the main settings panel and work our way through the most impactful tabs and options.
-
Step 1: Access the Graphics Preferences Menu
First, we need to open the main preferences window. This is where all the magic happens.
- Click on Avatar in the top menu bar.
- Select Preferences from the dropdown menu. (Keyboard shortcut: Ctrl + P).
- A new window will open. On the left-hand side, click on the Graphics tab.
Tip: The Graphics panel can seem overwhelming. Don't worry! We will break it down tab by tab. -
Step 2: Start with a Baseline Preset
At the top of the Graphics panel, you'll see a slider labeled Quality and Speed. This slider controls the main graphics presets: Low, Mid, High, and Ultra.
- Low: Maximizes performance. Objects and avatars look simple, and many effects are disabled.
- Mid: A balance between performance and quality, suitable for most modern computers.
- High: Favors quality. Enables shadows and more detailed objects, but requires a good graphics card.
- Ultra: Pushes your system to its limits for the best possible visuals, including detailed shadows and reflections. This is best for photography, not general use.
Action: Move the slider to High. We will use this as our starting point and customize it for a personalized "High-Performance" setting.
-
Step 3: Customize the "General" Tab
This tab contains the settings that have the most significant impact on your frame rate (FPS). Click on the General sub-tab just below the main slider.
Key Settings to Adjust:
- Draw Distance: This determines how far you can see in the world. Higher values render more of the world but drastically reduce performance.
- Recommendation: Set this between 128m and 256m. This is a great range for exploring most regions, including your free 10,000 prim island from Alife. You can increase it temporarily if you need to see something far away.
- Max # of Non-Impostor Avatars: This controls how many avatars near you are rendered in full detail. Avatars beyond this number are turned into "impostors" (simplified, 2D-like shapes) to save resources.
- Recommendation: Set this to 8 - 12. This ensures people you are interacting with look detailed, while avatars in the distance won't slow down your system.
- Level of Detail (LOD) Factor: This is a critical setting! It controls how quickly objects transition to lower-quality models as you move away from them. A low value causes objects to look "blocky" or "melty" until you are very close.
- Recommendation: Slide this to at least 3.0. If you have a decent GPU, pushing it to 4.0 provides excellent detail for mesh objects with a moderate performance cost.
- Max Particle Count: Particles are used for effects like smoke, fire, sparkles, and weather.
- Recommendation: A value of 2048 is usually sufficient. If you frequent places with heavy particle effects, you can increase it to 4096, but be prepared for a performance drop.
- Post-Process Quality: This enables effects like Glow (Bloom) and Depth of Field. It can make the world look much more atmospheric but is GPU-intensive.
- Recommendation: Set this to Low or Mid. This gives you a nice glow effect without the heavy performance hit of higher settings.
Warning: Setting Draw Distance too high (e.g., 512m or more) is the #1 cause of low FPS and lag in crowded areas. - Draw Distance: This determines how far you can see in the world. Higher values render more of the world but drastically reduce performance.
-
Step 4: Configure the "Hardware Settings" Tab
These settings relate directly to your graphics card (GPU). Getting them right is key to a stable experience.
Key Settings to Adjust:
- Antialiasing (AA): This smooths out the jagged edges on objects. It makes the world look much cleaner but costs performance.
- Recommendation: 4x is the sweet spot for most systems. It provides a significant visual improvement over no AA. If your performance is still suffering, drop it to 2x. If you have a high-end GPU, you can try 8x.
- Anisotropic Filtering: This makes textures look sharp and clear, especially when viewed at an angle (like floors and roads). It has a very low performance cost on modern hardware.
- Recommendation: Enable this. Check the box. It's a huge visual win for almost no cost.
- Texture Memory (VRAM): This tells Firestorm how much of your graphics card's dedicated memory it can use for textures. Setting this correctly prevents texture thrashing (blurriness).
- Recommendation: Set this slider to match your GPU's VRAM. If you have a 4 GB card, set it to 4096 MB. If you don't know your VRAM, a safe value is 1024 MB, but it's best to check your system specs. To be safe, you can set it slightly lower than your max VRAM.
- Enable VBO: Vertex Buffer Objects (VBO) is a modern rendering method that improves performance on nearly all current graphics cards.
- Recommendation: Enable this. The only reason to turn this off is for troubleshooting very old hardware or driver issues.
- Antialiasing (AA): This smooths out the jagged edges on objects. It makes the world look much cleaner but costs performance.
-
Step 5: Illuminate Your World with the "Lighting & Shadows" Tab
Shadows and lighting are what bring a virtual world to life, but they are also the most performance-hungry features.
Key Settings to Adjust:
- Advanced Lighting Model (ALM): This MUST be enabled to see shadows, materials (normal and specular maps), and projector lights. It is the foundation of modern visuals in OpenSim.
- Recommendation: Enable this. The visual difference is night and day.
- Shadows: This dropdown controls what casts shadows.
- Recommendation: Select Sun/Moon. This enables dynamic shadows from the main light source, creating a realistic environment. The "Sun/Moon + Projectors" option is very demanding and best reserved for photography.
- Shadow Quality: Controls the resolution and softness of the shadows.
- Recommendation: Mid provides good-looking shadows without a crippling performance hit. "High" or "Ultra" can cause a significant drop in FPS.
- Water Reflections: This setting controls what is reflected in the water.
- Recommendation: For general use, set this to Minimal or Terrain and Trees. For breathtaking water scenes and photography, you can temporarily set it to "Everything," but expect a major performance impact.
- Advanced Lighting Model (ALM): This MUST be enabled to see shadows, materials (normal and specular maps), and projector lights. It is the foundation of modern visuals in OpenSim.
-
Step 6: Save and Apply Your Settings
Once you've adjusted everything, it's time to save your work. Firestorm allows you to save your custom configurations as presets.
- At the bottom of the Graphics Preferences window, click the Save Preset button.
- Give your preset a descriptive name, like "My Balanced Settings" or "High-Performance."
- Click OK to save the preset.
- Finally, click the main OK or Apply button at the bottom of the Preferences window to apply all your changes.
Tip: You can now quickly switch between the default presets and your custom one using the "Graphics Preset" dropdown at the bottom of the window.
Screenshots/Visual Descriptions
- Preferences Window: To access this, go to
Avatar > Preferences. It's a large pop-up window with a list of categories on the left (like General, Chat, Sound & Media). You will be working in the Graphics category. - Graphics Tab Layout: When you click "Graphics," the main panel shows the "Quality and Speed" slider at the very top. Directly underneath it are several sub-tabs: General, Hardware Settings, Lighting & Shadows, and Rendering. We've focused on the first three.
- Location of Key Settings:
- Draw Distance and LOD Factor are sliders on the General tab.
- Antialiasing is a dropdown on the Hardware Settings tab.
- Shadows is a dropdown on the Lighting & Shadows tab.
Common Issues & Troubleshooting
- Problem: "My FPS is still very low!"
- Solution: Your computer may be struggling. The first things to reduce are Draw Distance (try 96m), Max # of Non-Impostor Avatars (try 5), and turn Shadows to "None." Also, check for other programs running in the background.
- Problem: "Objects look blurry or never fully rez."
- Solution: This is often a cache or texture memory issue. First, try clearing your cache via
Avatar > Preferences > Network & Files > Clear Cacheand restart the viewer. Second, ensure your Texture Memory setting in Hardware Settings is set appropriately for your GPU. If it's too low, textures won't load properly.
- Solution: This is often a cache or texture memory issue. First, try clearing your cache via
- Problem: "Everything looks flat and I can't see shadows."
- Solution: Ensure Advanced Lighting Model is checked in the "Lighting & Shadows" tab. Without it, shadows and materials will not render. Also, make sure you have selected a shadow option (like "Sun/Moon") from the dropdown menu.
- Problem: "The screen has strange graphical glitches or flickering."
- Solution: This is almost always a graphics driver issue. Visit the website for your GPU manufacturer (NVIDIA, AMD, or Intel) and install the latest drivers. As a test, you can also try toggling VBO off in the Hardware Settings tab.
Tips & Best Practices
- Monitor Your FPS: Press Ctrl + Shift + 1 to open the Statistics bar. Look for FPS (Frames Per Second). A smooth experience is typically above 25-30 FPS. Use this number to gauge how your changes are affecting performance.
- Create Multiple Presets: Save different presets for different activities. For example, create a "Low Lag/Events" preset with shadows off and low draw distance, and a "Photography" preset with Ultra settings.
- Use Quick Preferences: Firestorm has a "Quick Prefs" panel (
Avatar > Preferences > General > "Show Quick Preferences button"). This gives you fast access to sliders for Draw Distance, Max Avatars, and LOD Factor without opening the full menu. - Adjust for the Environment: A quiet, empty island will run smoothly on high settings. A crowded event or a region packed with 10,000 prims (like the free islands on Alife!) will be much more demanding. Be prepared to lower your settings in busy areas.
- Keep Drivers Updated: It can't be said enough: updated graphics drivers are essential for the best performance and stability.
Conclusion with Next Steps
Congratulations! You've taken a deep dive into Firestorm's graphics settings and created a custom profile that balances beauty and performance for your specific hardware. The key is experimentation; don't be afraid to tweak these settings further to find what works best for you. Your goal is a smooth, beautiful, and immersive experience in the Alife Virtual World.
Now that your viewer is optimized, it's time to explore!
- Claim Your Free Island: Head over to the Alife Virtual World website and claim your free 256x256m region with a 10,000 prim limit. It's the perfect sandbox to test your new settings and start building: Get Your Free Island.
- Explore Other Settings: Consider looking into other guides for optimizing your network settings or mastering Windlight/EEP (Environment Enhancement Project) to control the sky, water, and lighting.
- Join the Community: Engage with other residents in Alife. A beautiful world is best when shared with others!
🚀 Ready to Try Firestorm with Alife?
Get your FREE island in Alife Virtual World and start exploring with Firestorm!
Get Your Free Island Now →No credit card • 256x256m region • 10,000 prims • Forever free
Need Help?
Contact our support team if you need assistance with Firestorm Viewer.